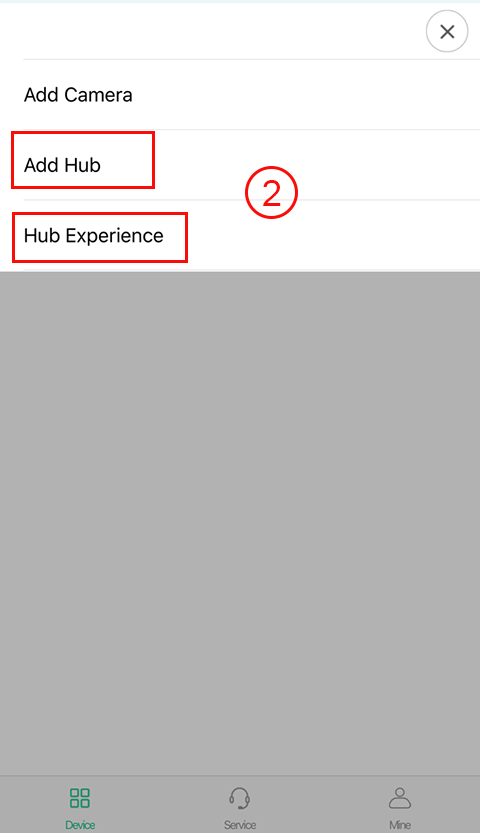
1.Click the “add Hub” button

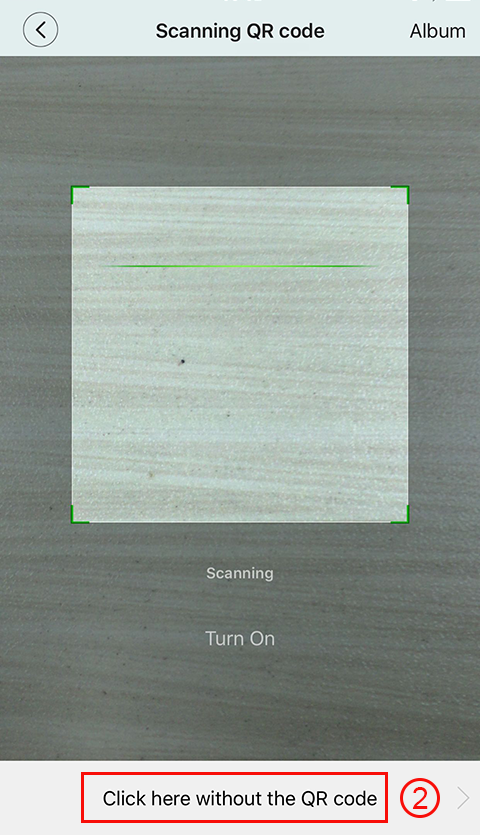
2.Click the bottom “pls click here if no QR code”
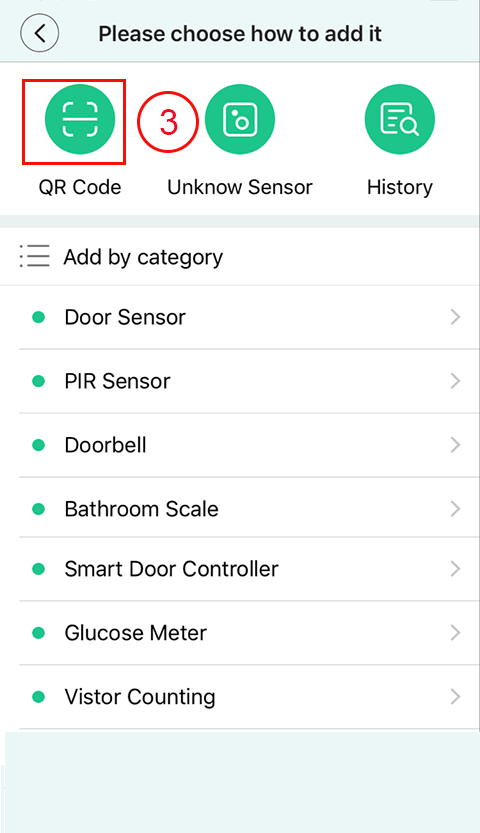
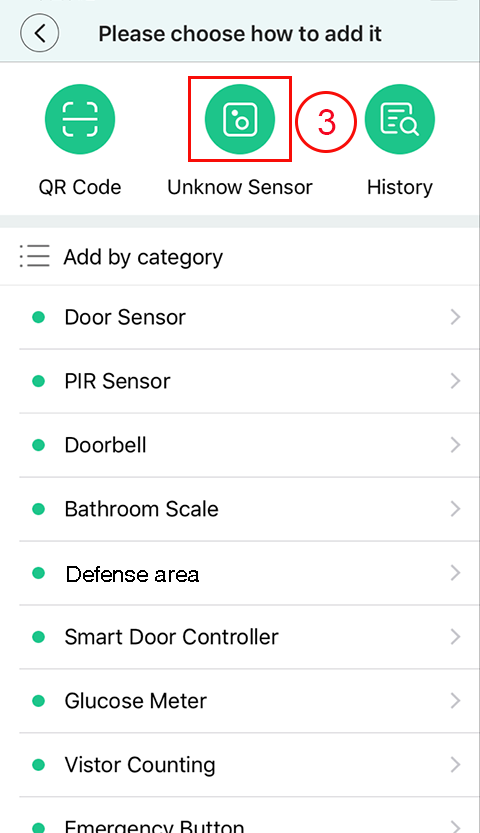
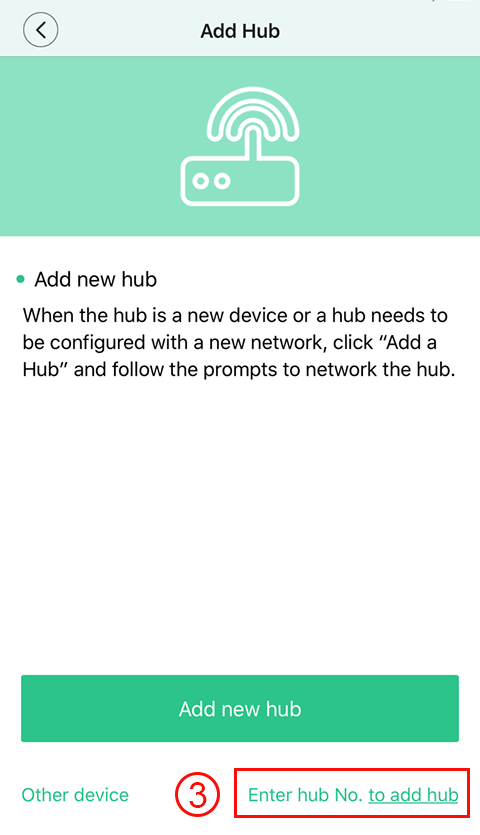
3.Click the “add new Hub” button
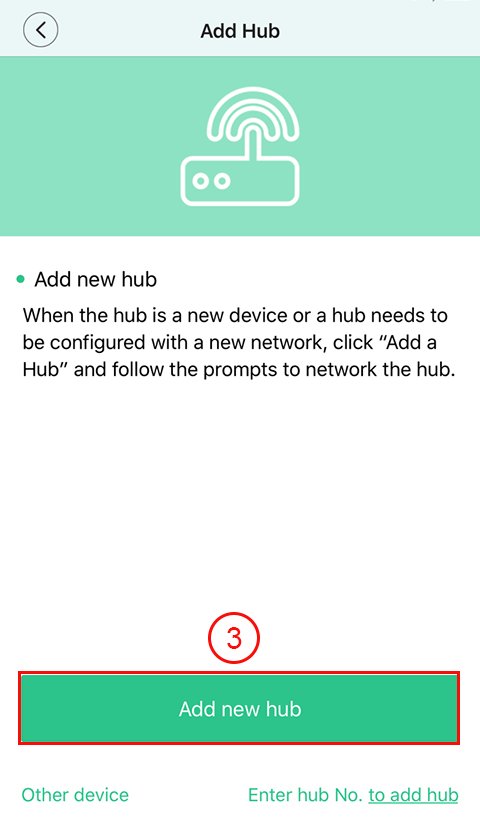
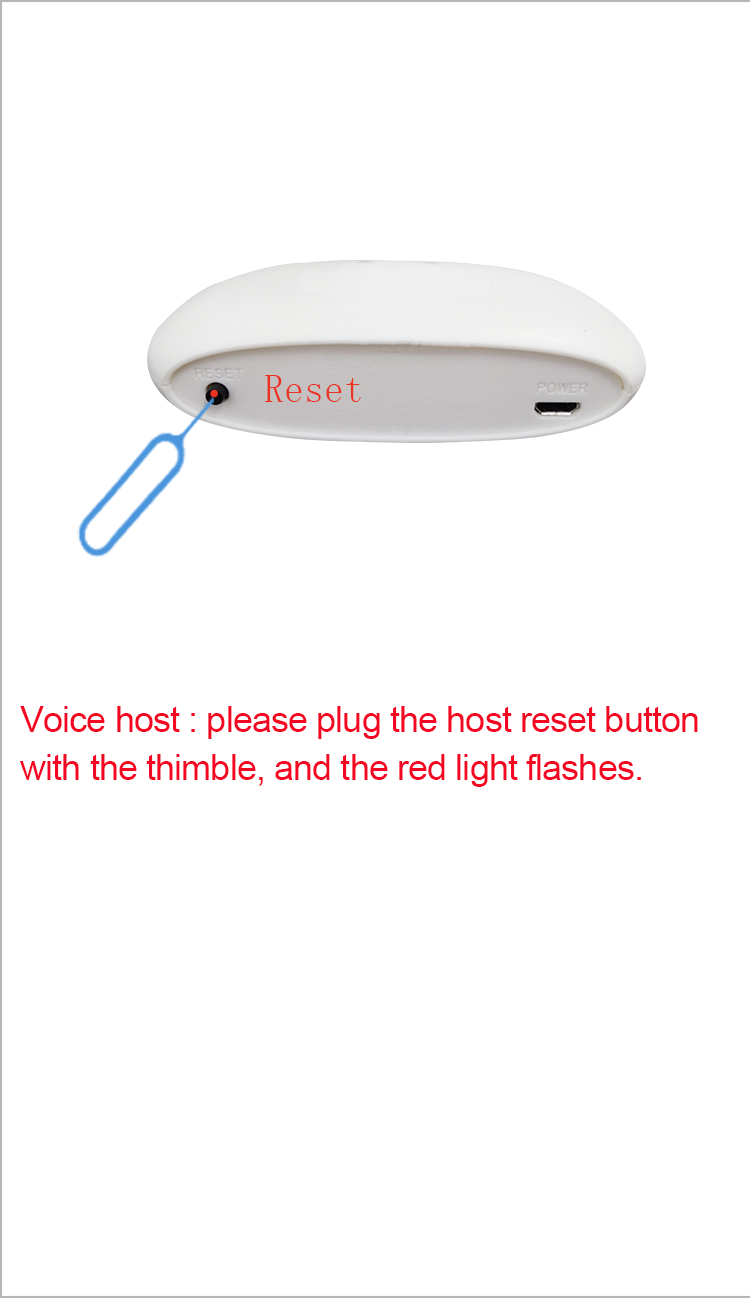
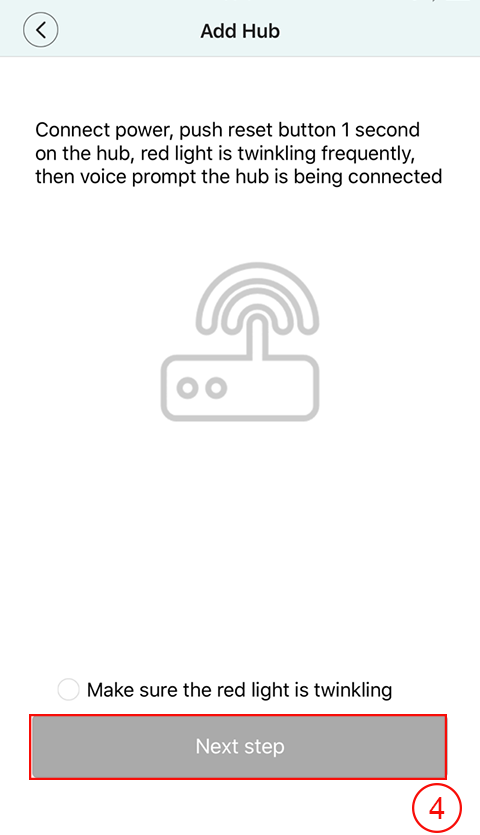
4.Switch on and short press the “reset” button on the Hub for 1 second, the red light starts to flash quickly with voice prompt “ pls configurate your mobile app into wifi”
5.Confirming the red light on Hub is flashing, click “red light flash confirmed”, when the button turns green, click “next”.
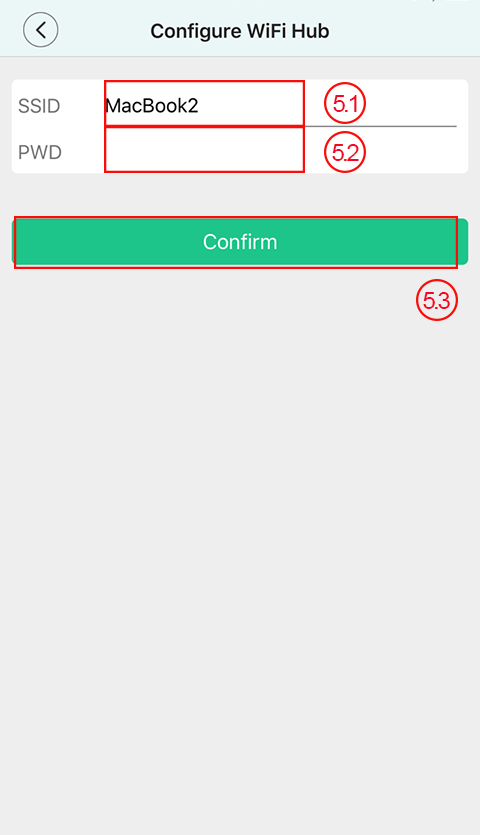
6.Enter the code of the router your mobile connected to, confirm the code is correct and click “confirm” button.
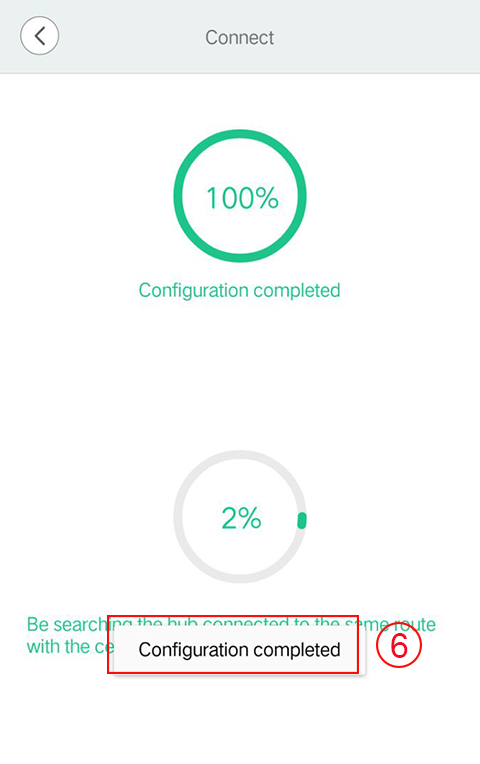
7.When the configuration progress bar shows 100%, it will remind you “configuration finished”, the second progress bar is for searching the Hub in the same LAN
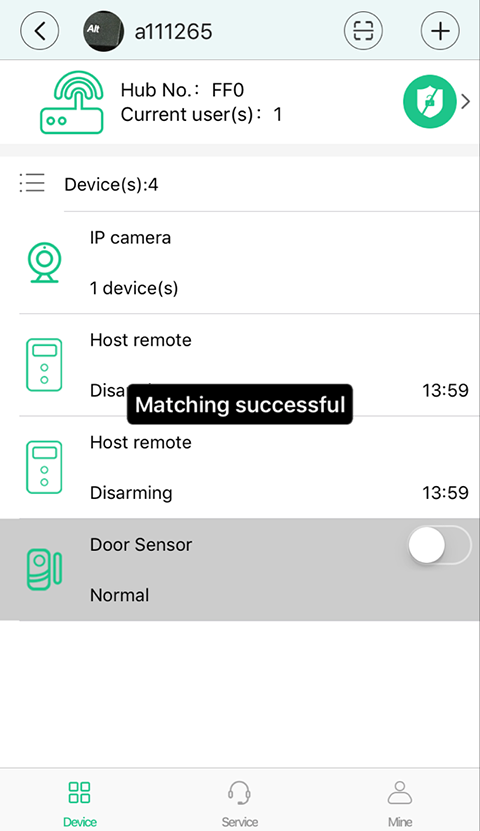
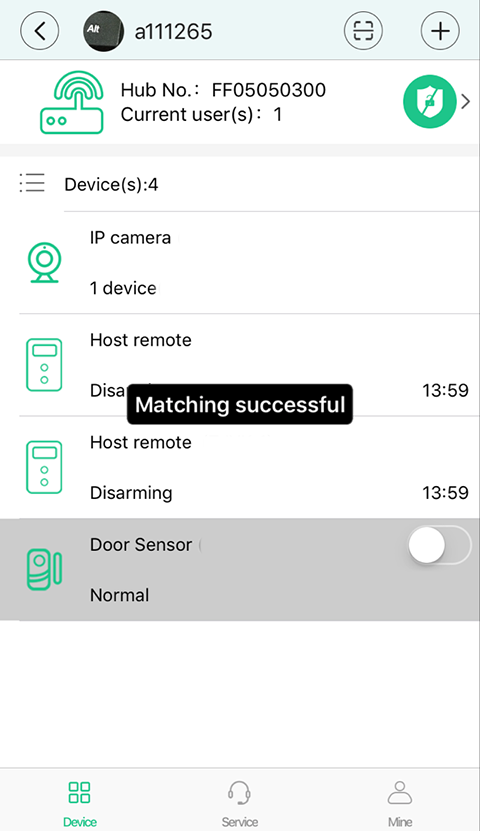
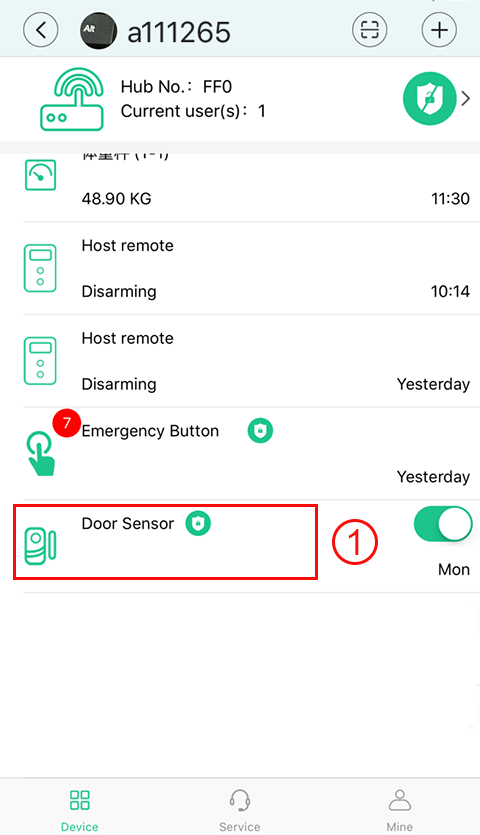
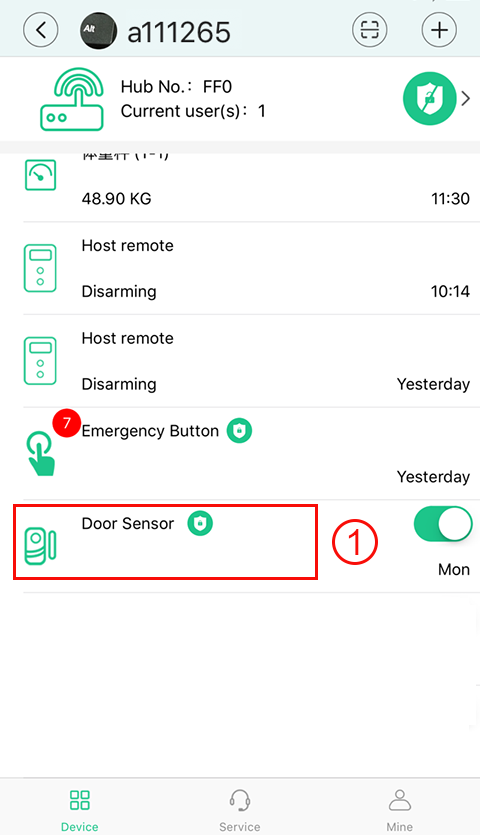
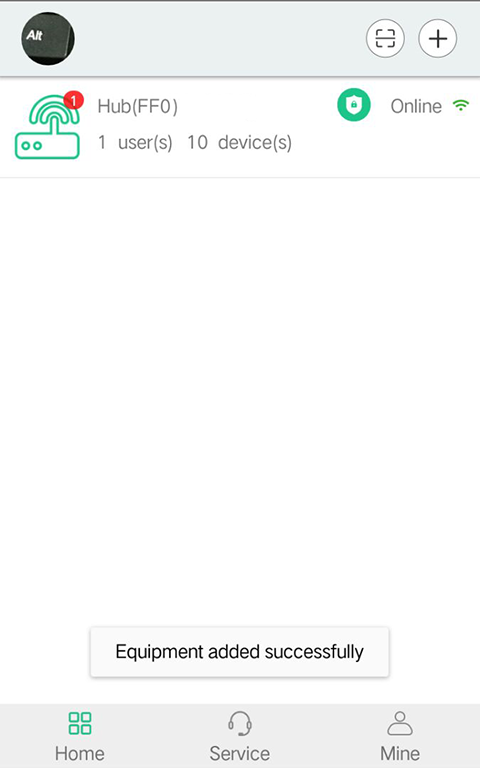
8.When it reminds the facility is added successfully, and the Hub appears in the mainframe list, till now the searching for mainframe under wifi configuration has been completed.
1.Click “add Hub” button
2.Click the bottom “pls click here if no QR code”
3.Click the bottom “you still can choose the serial number to add”
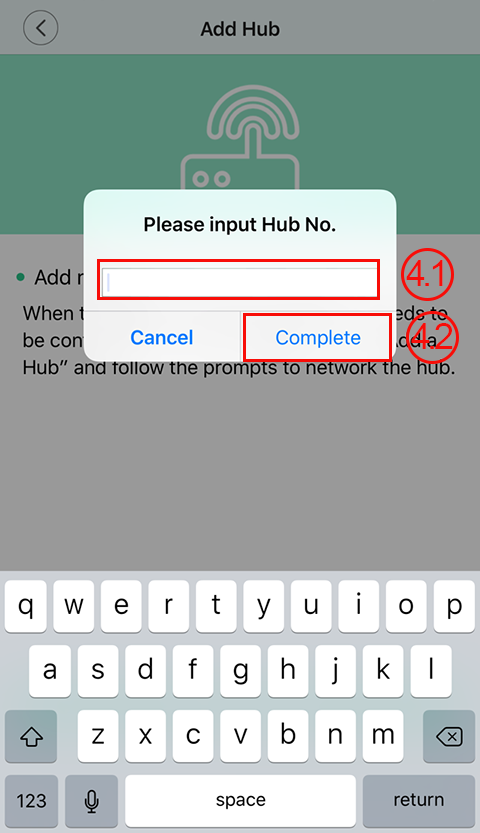
4.Enter the 10 serial numbers at the Hub back, and click “finish” button
5.When it reminds the facility is added successfully, and the Hub appears in the mainframe list, till now adding mainframe according to the serial number has been finished.

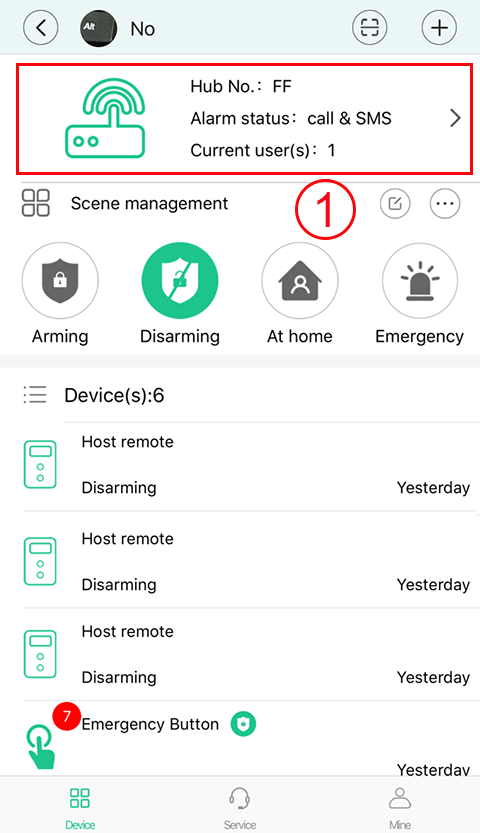
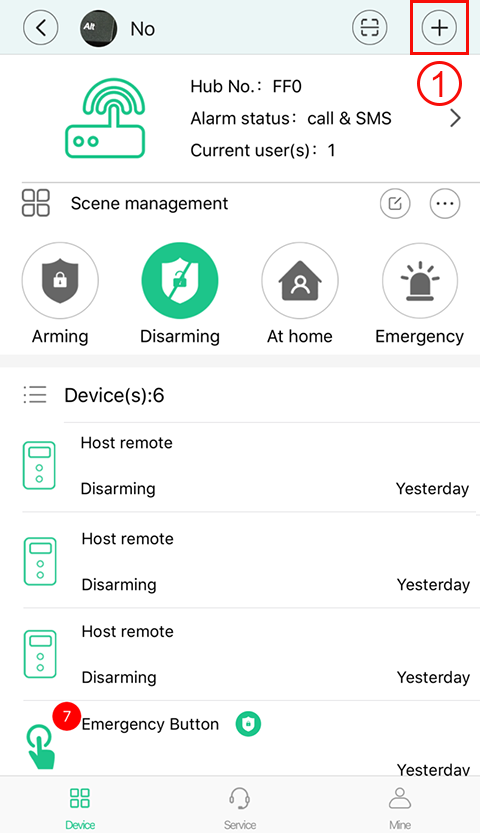
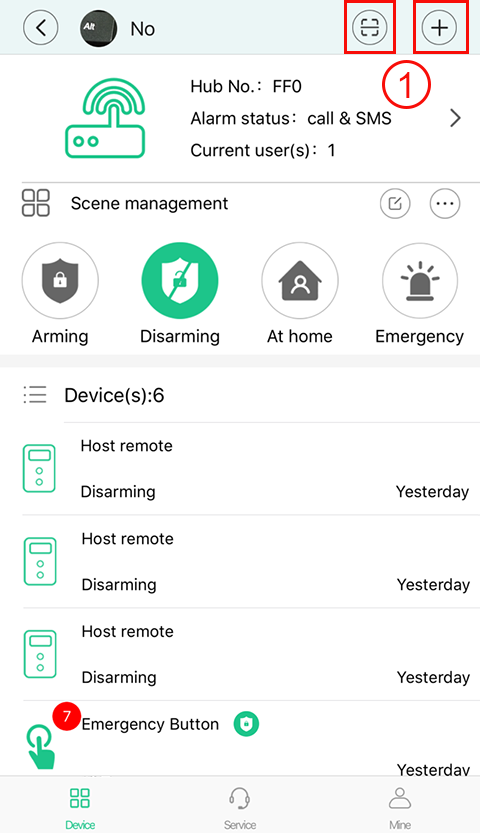
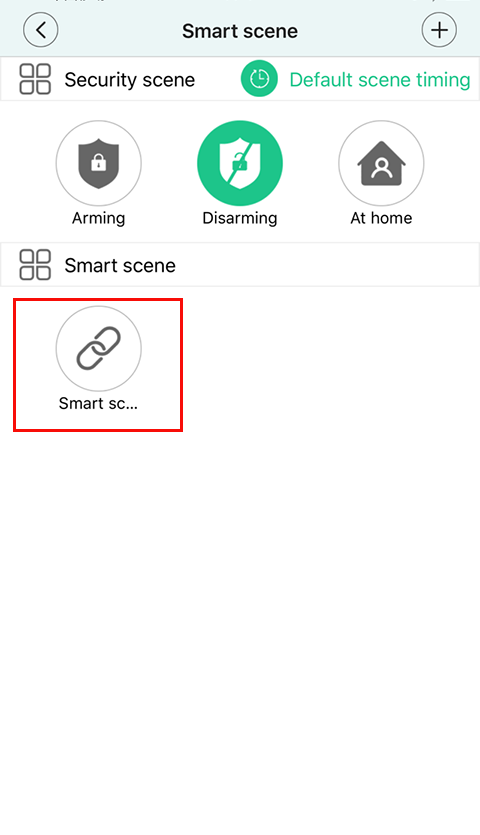
1.Click the “add” button in the top right corner of the Hub

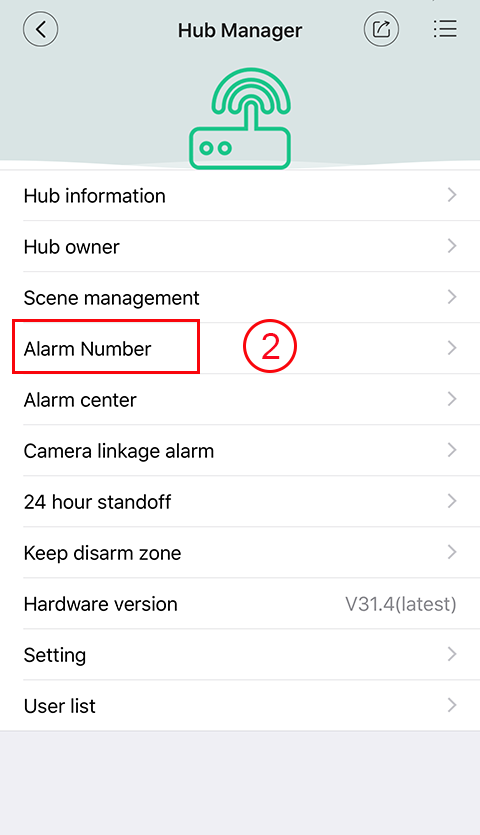
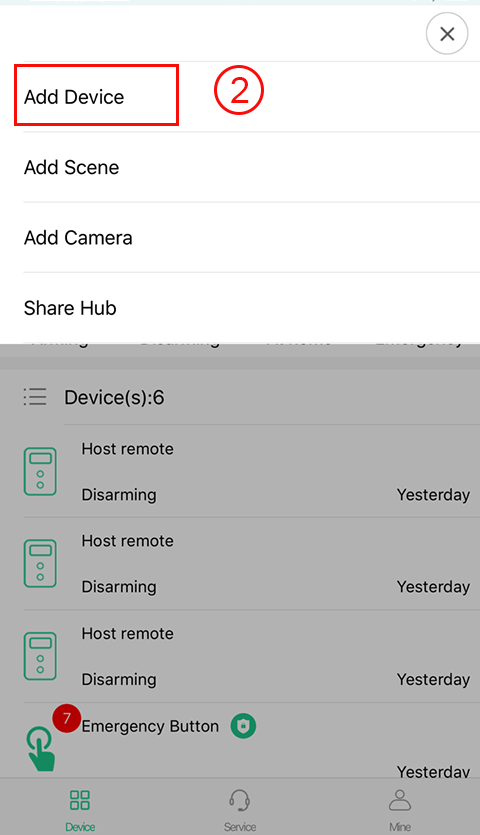
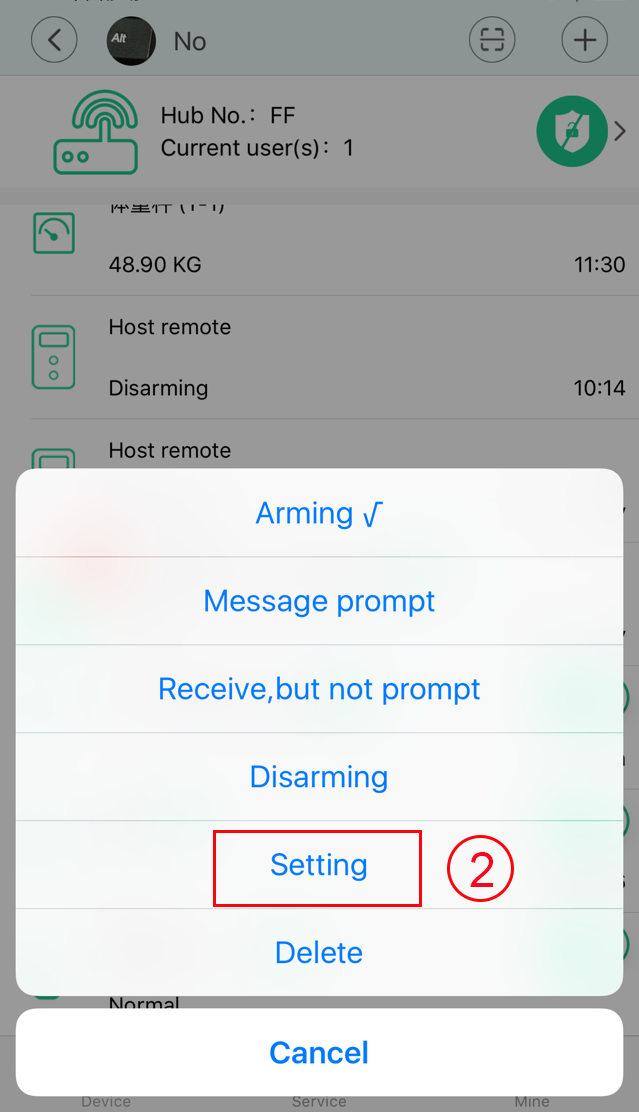
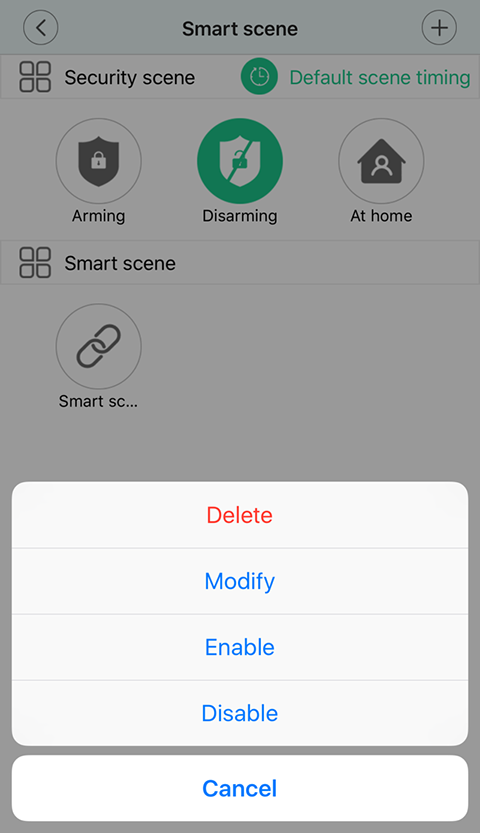
2.Choose the option “share this Hub”

3.Please open the scan function in the app to scan the QR code which is valid for 3 minutes and only can be used once.

4.When it reminds the facility is added successfully, and the Hub appears in the mainframe list, till now adding mainframe by scanning QR code has been finished.
1.In the Hub list interface, click the scan icon in the top right corner to scan and add (process as above) or click the “add” button.
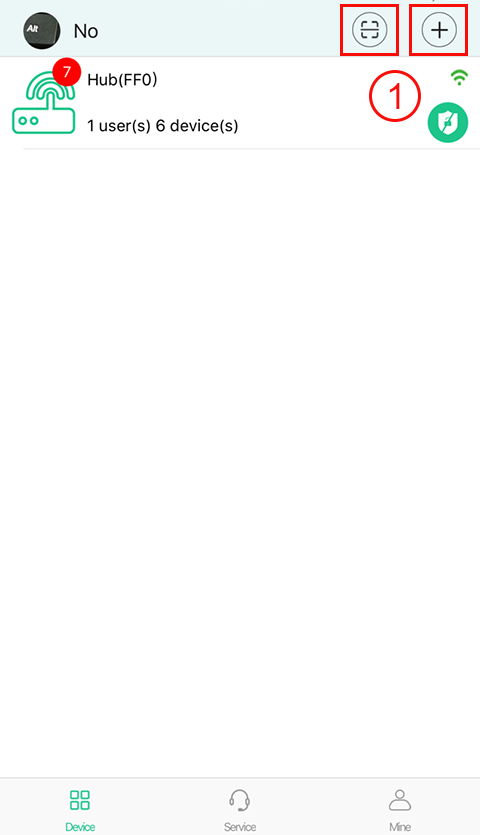
2.You may choose “add Hub” button to add the mainframe or trial mainframe (process as above)